
Page 59 - cosmos4
P. 59
Step:2) Seeing the light- Blacking out and exposing to light-: Microgreens at the initial
stage don’t require light. You can keep them inside the shelf or a place where light is
prevented. This is called the blackout period. The darkness ensures that the stems
of the microgreens grow longer. This process takes about 4-5 days after seeding. All
you have to do is:
After we’ve sprayed water on it you have to cover it with a Plastic lid or wrap
and keep it somewhere in a closed place where sunlight is prevented. After 4-
5 days you can see that small seedling arise which are in yellow color. Now you
can expose them to sunlight and when you do this you can see they will change
from yellow to green color!
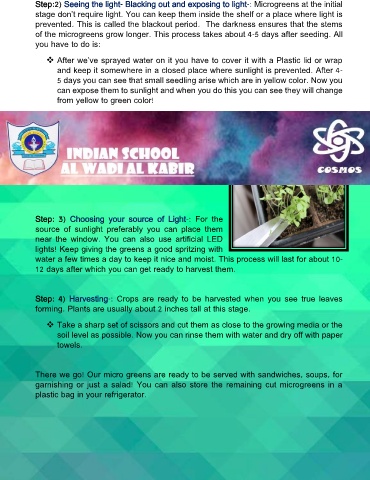
Step: 3) Choosing your source of Light-: For the
source of sunlight preferably you can place them
near the window. You can also use artificial LED
lights! Keep giving the greens a good spritzing with
water a few times a day to keep it nice and moist. This process will last for about 10-
12 days after which you can get ready to harvest them.
Step: 4) Harvesting-: Crops are ready to be harvested when you see true leaves
forming. Plants are usually about 2 inches tall at this stage.
Take a sharp set of scissors and cut them as close to the growing media or the
soil level as possible. Now you can rinse them with water and dry off with paper
towels.
There we go! Our micro greens are ready to be served with sandwiches, soups, for
garnishing or just a salad! You can also store the remaining cut microgreens in a
plastic bag in your refrigerator.